
Transferring files from a broken Mac to a new one can be challenging, especially if the broken Mac cannot boot or access its files. However, with the right approach and tools, you can still recover your important data. This guide provides step-by-step instructions on how to transfer files from a broken Mac to a new one.
1. Introduction: Understanding the Importance of Data Transfer
When transitioning to a new Mac, transferring your files is crucial to ensure a smooth continuation of your work and digital life. If you’re dealing with a broken Mac, data transfer becomes even more critical as you strive to retrieve your valuable data before moving to a new computer. This comprehensive guide will help you navigate various methods to transfer your files, whether your broken Mac is operational or not.
Step 1: Back Up Your Data
Before proceeding with any data transfer, it’s essential to back up your data to prevent data loss. The method you choose will depend on the condition of your broken Mac.
Using Time Machine for Operational Macs: If your broken Mac is operational, use Apple’s Time Machine to create a complete backup of your data. Time Machine creates incremental backups, allowing you to restore your system and files to a previous state.
- Connect an external hard drive to your broken Mac.
- Open “System Preferences” and select “Time Machine.”
- Turn on Time Machine and select the connected external drive as the backup destination.
- Let Time Machine perform the initial backup, and subsequent backups will occur automatically.
External Hard Drive Backup: If your Mac isn’t operational or Time Machine isn’t an option, manually copy your important files to an external hard drive or USB stick.
- Connect an external hard drive or USB stick to your broken Mac.
- Navigate to the files you want to back up.
- Copy and paste these files to the external drive.
Cloud Backup Services: Cloud storage services like iCloud, Google Drive, and Dropbox allow you to store files online. If your Mac is operational, upload critical files to the cloud.
- Sign in to your cloud storage account on the broken Mac.
- Upload the important files to your cloud storage.
Verify Your Backup: Once your backup is complete, ensure that all critical files are included and accessible from another device. This step is crucial before proceeding to the data transfer process.
Read Also : How To Fix MacBook Black Screen Of Death?
Step 2: Prepare Your New Mac
Unbox and set up your new Mac, ensuring it’s connected to the internet. During the setup process, you’ll have the opportunity to sign in with your Apple ID and configure system preferences.
Step 3: Choose a Data Transfer Method
Depending on the state of your broken Mac and the resources you have available, you can choose from several methods to transfer your files to the new Mac.
- Migration Assistant: Apple’s official tool for transferring data from one Mac to another.
- External Hard Drive or USB Stick: Manually copy files from the external drive to the new Mac.
- Ethernet Cable (Target Disk Mode): Use an Ethernet cable to connect both Macs and transfer files.
- Cloud Storage: Upload files from the broken Mac and download them on the new Mac.
In the following sections, we’ll cover each method in detail.
Method 1: Using Migration Assistant
What is Migration Assistant?
Migration Assistant is an official Apple tool that simplifies the process of transferring data from one Mac to another. It’s especially useful when transitioning to a new Mac, as it ensures that applications, user accounts, settings, and files are transferred seamlessly.
Starting Migration Assistant on the New Mac:
- Open Finder on the new Mac.
- Go to the “Applications” folder and locate the “Utilities” folder.
- Inside the “Utilities” folder, find and open “Migration Assistant.”
Selecting Your Source and Target Macs:
- When Migration Assistant opens, you’ll be prompted to choose how you want to transfer your information.
- Select “From a Mac, Time Machine backup, or startup disk” and click “Continue.”
Choosing Data to Transfer:
- You’ll be asked to sign in with your Apple ID on the new Mac.
- Migration Assistant will search for available sources. Choose the backup or device you want to transfer data from and click “Continue.”
- You’ll be given options to transfer specific information, such as applications, user accounts, documents, and settings. Select the checkboxes based on your preferences and click “Continue.”
Initiating the Data Transfer:
- Migration Assistant will display an overview of the data you’ve chosen to transfer. Review the information.
- Click “Continue” to begin the data transfer process.
- The transfer may take some time, depending on the amount of data. A progress bar will keep you informed.
Once the transfer is complete, your new Mac will restart, and you’ll find all your transferred data, applications, and settings ready for use.
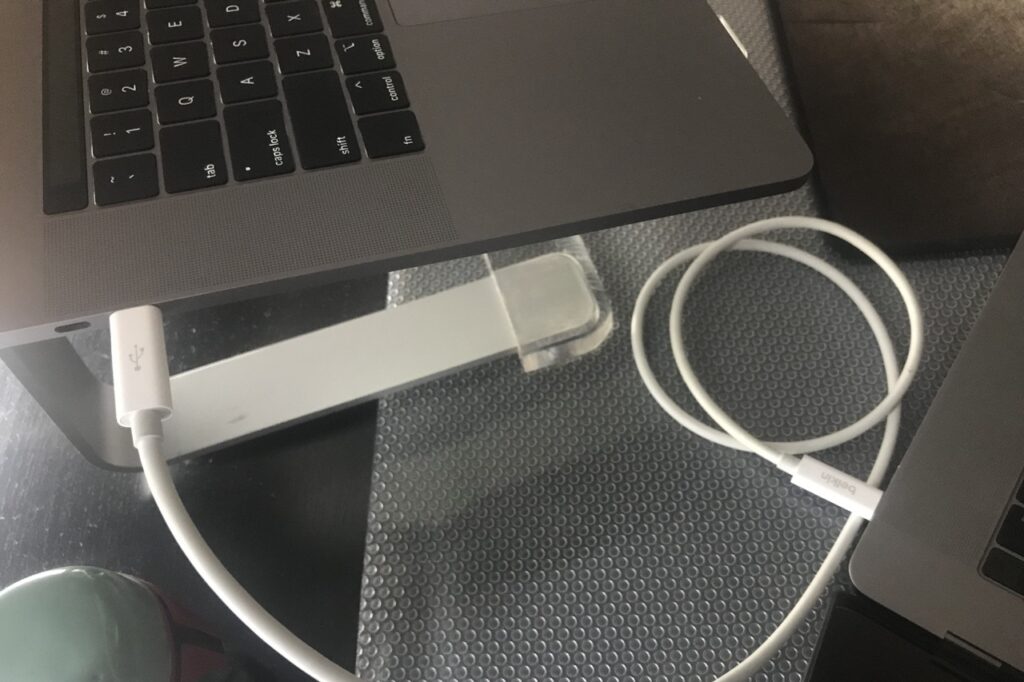
Method 2: External Hard Drive or USB Stick
This method involves manually copying files from an external drive or USB stick to your new Mac.
Connect the Drive to the Broken Mac:
- Connect the external hard drive or USB stick to the broken Mac.
Copying Files to the Drive:
- Open Finder on the broken Mac.
- Navigate to the files you want to transfer.
- Select the files or folders, right-click, and choose “Copy.”
- Open the external drive or USB stick in Finder.
- Right-click and choose “Paste” to copy the selected files to the drive.
Connect the Drive to the New Mac:
- Safely eject the external drive or USB stick from the broken Mac.
- Connect the drive to the new Mac.
Copying Files to the New Mac:
- Open Finder on the new Mac.
- Navigate to the external drive or USB stick in Finder.
- Select the copied files or folders, right-click, and choose “Copy.”
- Navigate to the desired location on your new Mac’s internal storage.
- Right-click and choose “Paste” to copy the files to your new Mac.
Method 3: Ethernet Cable (Target Disk Mode)
Target Disk Mode allows you to use an Ethernet cable to connect both your broken Mac and your new Mac. This method works if your broken Mac is still operational.
Check Compatibility: Ensure that both your broken Mac and new Mac support Target Disk Mode.
Preparing Both Macs:
- Power off both Macs.
- Connect the Ethernet cable between the two Macs.
Booting into Target Disk Mode:
- Power on your broken Mac while holding down the “T” key.
- The broken Mac’s screen will display the Target Disk Mode icon.
Connecting the Macs:
- Once the broken Mac is in Target Disk Mode, its storage will appear as an external drive on the new Mac.
- Open Finder on the new Mac. You’ll see the broken Mac’s storage listed in the sidebar.
Transferring Files:
- Navigate through the broken Mac’s storage on the new Mac.
- Drag and drop the files you want to transfer onto your new Mac’s internal storage.
Method 4: Cloud Storage
If your broken Mac is operational, you can use cloud storage services to transfer files.
Uploading Files from the Broken Mac:
- Sign in to your cloud storage account on the broken Mac.
- Upload the files you want to transfer to the cloud.
Downloading Files on the New Mac:
- Sign in to your cloud storage account on the new Mac.
- Download the uploaded files to your new Mac’s internal storage.
Read Also : How To Show Hidden Files On Mac Storage Drive?
Step 4: Verify and Organize
After transferring the files, it’s crucial to verify that all the transferred data is intact and accessible on your new Mac. Take the time to organize your files into appropriate folders for easy access and maintain a tidy file structure.
Step 5: Set Up Your New Mac
Complete the setup of your new Mac by following the initial setup instructions. This includes signing in with your Apple ID, configuring system preferences, and adjusting settings to your liking.
Read : How To Contact Apple UK Customer Support [Phone, Email & Online Chat] ?
Conclusion:
Transferring files from a broken Mac to a new Mac is a critical step in maintaining your digital continuity. By following the methods outlined in this guide, you can retrieve your important data and enjoy a smooth transition to your new computer. Whether you choose Migration Assistant, manual transfer via external drive, Ethernet cable, or cloud storage, your files will be ready for use on your new Mac, ensuring that you can pick up where you left off without missing a beat.